How to Create A Free Blog On The BlogSpot Blogging Platform
How to Create A Free Blog On The BlogSpot Blogging Platform
Blogger Blogspot is the best choice for fresher and learning stage Bloggers to succeed in the blogging career. When I was decided to create a free blog, I found a platform that is more friendly and highly SEO optimized which is Blogspot. Since my blogging, I like Blogspot and I have been learned more from it. As we all know, there are two famous blog platforms which are Blogspot and WordPress. Most people like these two tools to step into their blogging career.
What is The Blogger Blogspot
Blogger Blogspot is a free platform and it's easy and free to create your wonderful blog, you can choose static and responsive themes before and after the creation of a blog, according to your niche. You can get a free domain or you can buy a custom domain. Google Adsense pays money for your hard work if your blog has enough traffic daily. You can know your blog visitors with help of Blogspot built-in Google Analytics and moreover, you can share your views, creative thoughts, and own memories through blog posts.
Step by Step Guide to create a Free Blogger Blogspot
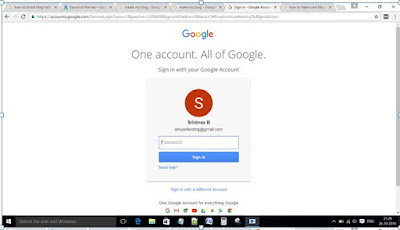
The first step, go to Blogger Blogspot then which will ask you Gmail and enter your mail and password and sign in to blogger.
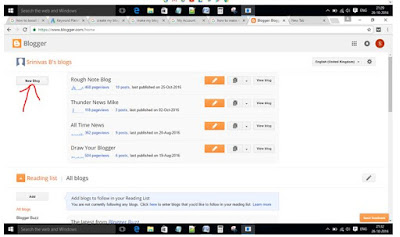
Now click on the new blog Button
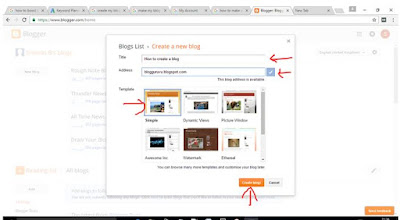
which will ask you the title and domain address for your blog and give those details and click on create a new blog.
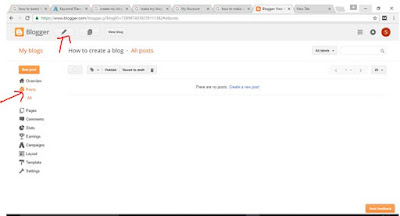
Now your is being created, you can see all the blog options which you can edit according to your requirement.
First, you find the preview option and second one post which you can be used to create, edit, delete posts.
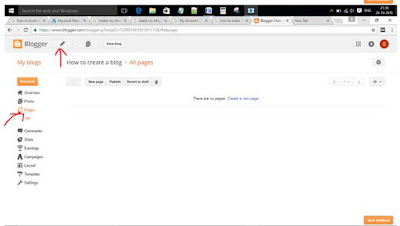
The third one is the pages option using which you can create a number of pages
The fourth one is the comments option, here you can see all comments
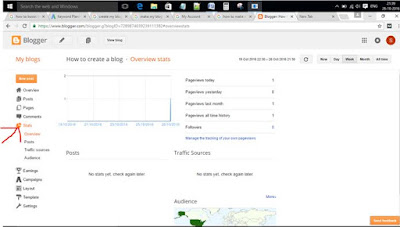
Fifth one stats option, here you see how many users see your posts and stats history like today, yesterday and all-time history stats
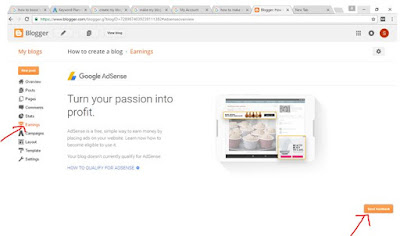
The sixth one is the Adsense option using which you can show ads on your if your blog becomes a popular one.
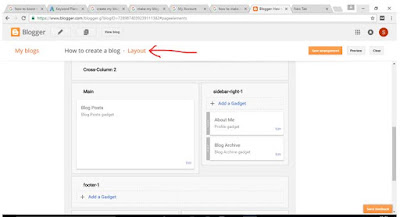
The seventh one is layout using which you can add widgets, delete widgets, edit widgets according to your blog requirement to make any changes for your blog.
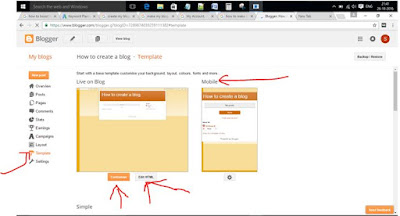
The eighth one is the Template option using which you can make customize your blog code and edit the HTML code based on your blog need.
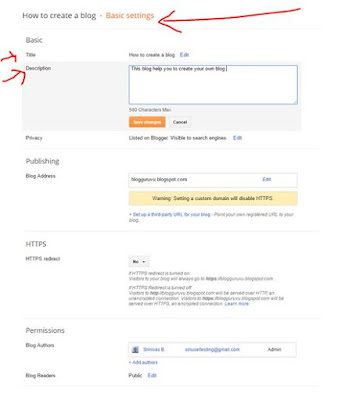
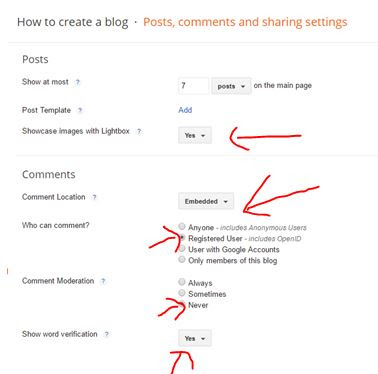
The ninth one is the Settings option which is the most important feature in a blog. To SEO your blog, first of all, you have to fulfill blogger basic settings like blog description, blog title, etc.
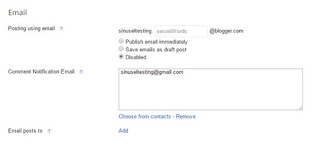
This email option is less important.
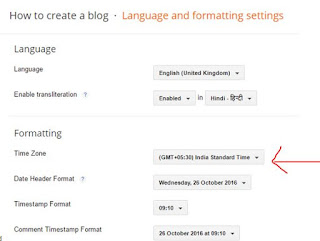
Language settings option gives to make changes on time, language according to native location
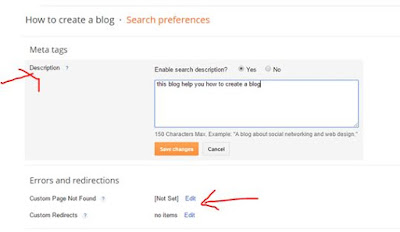
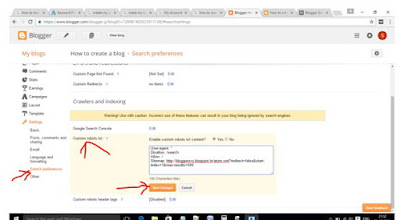
Search preferences are the most important part to make your blog appear in the search result at top of the results. Meta description, custom page not found options which you must complete tasks.
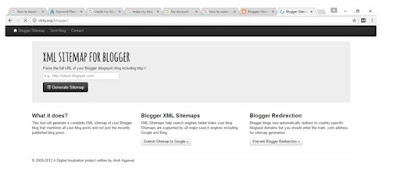
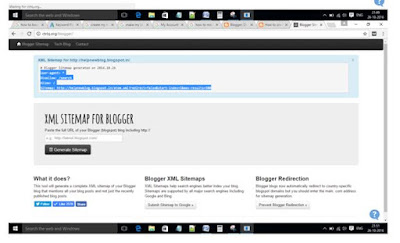
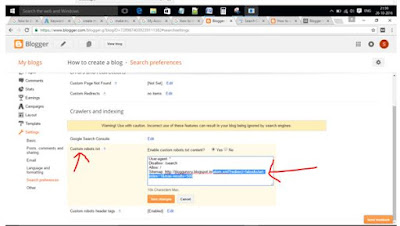
Now in search preferences, you have to create a custom robot text file which is the most important one whether google or other search engines crawl your blog or not. So to create this robot text file go ctrlq site and enter your blogger domain address which will automatically create the robot text file and just copy it.
In the below image, you can robot txt file.
Now got custom robot txt option where pest the above-copied code as it is.
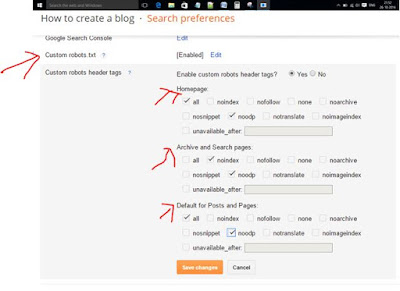
Now other one custom robots header tag which you have carefully select the all checkboxes as it is in the below image.
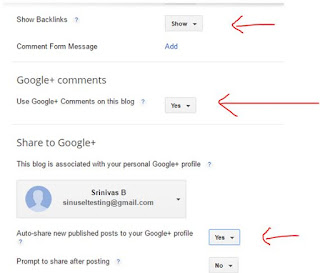
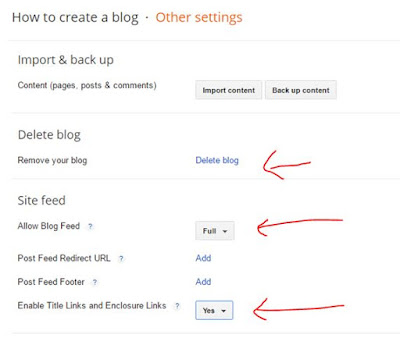
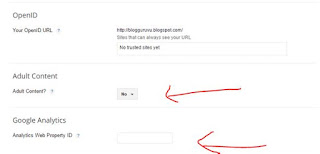
The final option is other settings using which you can delete your blog and here you can give google analytics code to see your blog live performance.
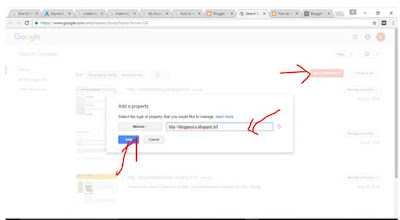
Now Google search console in which you have registered your blog for that google search console site. Click on Add the property and give you domain address and click on the add button.
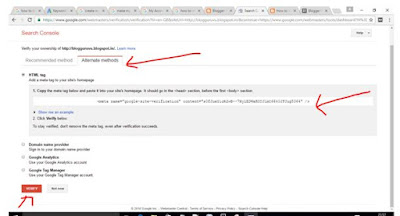
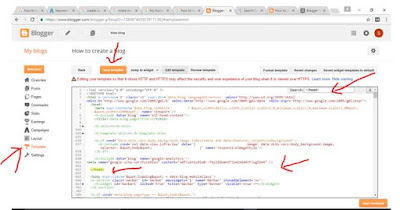
Now select the alternative method and select the HTML tag check box which will generate Html verification code and copy it and go to the template option and click on the EDIT HTML button.
In which search for </head> tag, just above this header tag pest that verification code and save the template code and go back to search console click on verify button.
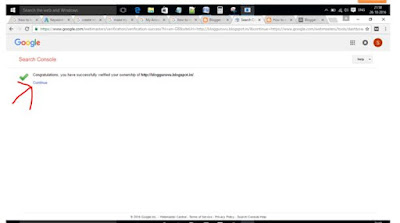
Now you successfully verified your blog with Google and click on continue.
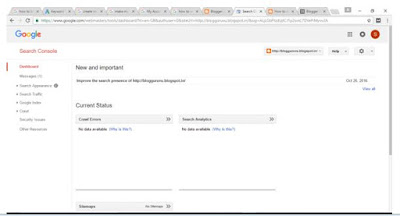
Now, you can see your blog dashboard.
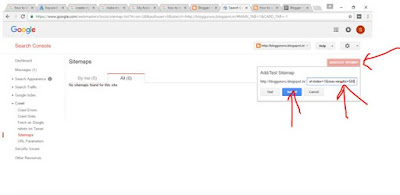
The next goal before you is adding a site map file search console for which just open your robot text file and copy the site map file atom.xml?redirect=false&start-index=1&max-results=500 and go to search console.
Now in search console,click On add sitemap option from crawl menu and here pest the sitemap file and click on submit button
In the below image, you can see your blog site map file successfully submitted.
Video Tutorial for Creating Blogger Blogspot
Adding Widgets to your Blogger Blogspot.
Widgets are playing a major role to attract blog visitors and make SEO templates to complete the blogging process. Below I have given coding for widgets to add more features.
Google Adsense for Your free Blogger
After all, what is our main goal to create a free blog? Is it for time pass or making money? Why don't you make many from your free blogger for that we need google Ad sense through which you can earn money based on your blog visitors. So before Applying Ad-sense, we have to follow google Adsense Rules to get approval for your Blog and Optimizing Ben fits from it.
How to Create A Free Blog On The BlogSpot Blogging Platform, Blogger Blogspot, Blogspot, Blogspot Video Tutorial, Blogspot tutorial with screenshots.





How to create like that link
ReplyDeleteVisit W3Schools.com!